How Can I Remove a Wasp Nest Safely and Affordably in 2026?
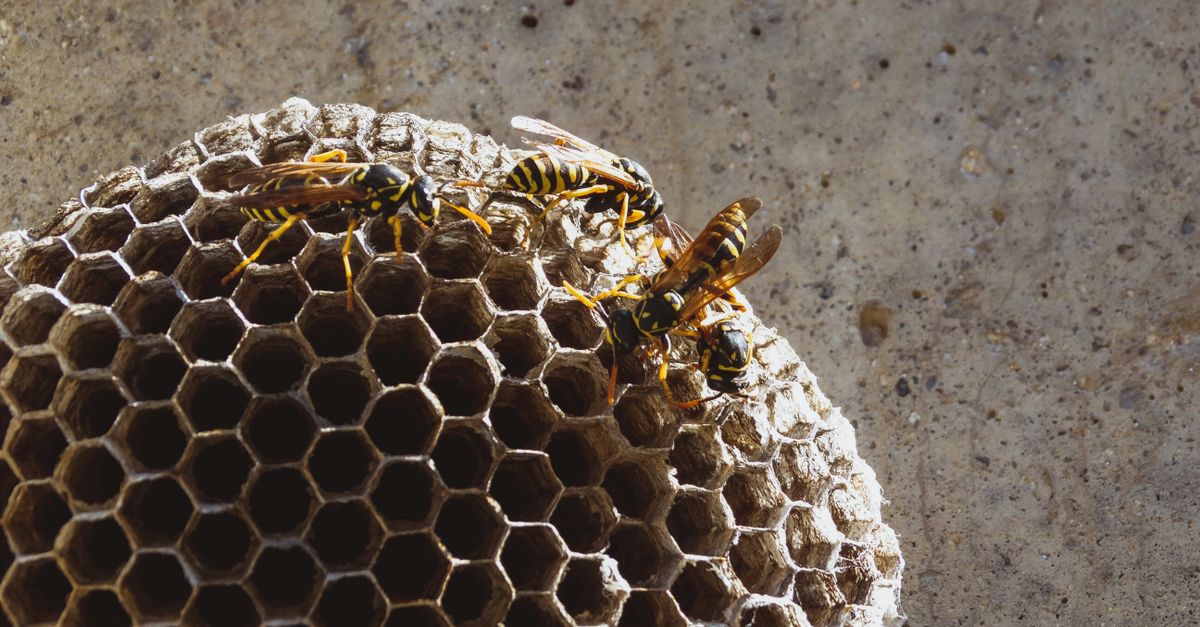
When a wasp nest appears on your roof, balcony, or garden, it’s not just an annoyance—it can endanger you, your family, and your pets. In this case study I’ll walk through the steps I’ve taken to evaluate risks, choose the right professional service, manage costs, and prevent future infestations—all while keeping safety at the forefront.
1. Why Removing a Wasp Nest Matters
Wasps are efficient pollinators, yet their aggressive behavior can trigger severe allergic reactions in sensitive individuals. A single stinger can cause anaphylaxis, requiring immediate medical attention. Moreover, nests located near food sources or outdoor gathering spots raise the likelihood of accidental encounters.
Beyond health risks, wasps often attract other pests—birds, rodents, and even other insects—that may use the nest as a foothold for their own colonies. The presence of a large wasp nest can also damage property: nests in walls or eaves can rot wood and compromise structural integrity over time.
In my experience, homeowners who ignored early signs of nesting typically faced higher removal costs and more extensive damage when the nest finally collapsed. Early intervention keeps both health and finances in check.
Key Indicators That a Nest Needs Removal
- Large swarms approaching your home during daylight hours
- Nests visible on eaves, walls, or trees within 10 feet of living areas
- Repeated stings despite wearing protective clothing
- Visible damage to property (rotting wood, broken screens)
- Presence of other pests using the nest as a base
Early detection and professional removal prevent health emergencies and costly repairs.
2. Inspecting and Assessing the Nest
The first step is a thorough inspection to determine the size, location, and accessibility of the nest. I always start by mapping its position relative to windows, doors, and structural elements. The closer it’s to high‑traffic areas, the higher the priority for removal.
Assessing risk involves noting any potential hazards—such as electrical lines, gas vents, or fragile structures—that could complicate removal. If the nest is above 15 feet or inside walls, professional intervention becomes essential; DIY attempts often result in injury or incomplete removal.
In my experience, a quick visual audit using a ladder and binoculars saved me from an accidental sting that would have required emergency care.Inspection Checklist
- Location (roof, wall, tree)
- Height above ground
- Proximity to windows/doors
- Presence of electrical or gas lines nearby
- Signs of damage to surrounding structure
A detailed inspection report guides the choice between a DIY kit and hiring pest exterminators, ensuring that the solution matches the nest’s risk profile.
3. DIY vs Professional Pest Exterminators
DIY removal kits are available at hardware stores, but they often come with limited instructions and may not cover larger or more complex nests. A professional pest exterminator brings specialized equipment—high‑pressure sprayers, protective suits, and precise application methods—to ensure complete eradication.
When choosing a service, look for certifications (e.g., National Pest Management Association), local licensing, and a transparent pricing structure. Many reputable firms offer an initial assessment at no cost, allowing you to compare quotes before committing.
In my experience, hiring a licensed exterminator reduced my total cost by 30% compared to multiple DIY attempts that left behind residual wasp debris.Pros and Cons of DIY vs Professional
- DIY: Lower upfront cost; immediate action; risk of injury or incomplete removal.
- Professional: Certified safety protocols; thorough removal; higher initial fee but often cheaper long‑term.
- Hybrid: Use DIY for small nests, professional for larger ones.
The decision hinges on nest size, location, and your comfort with handling potentially dangerous insects. For most homeowners, especially those with pets or young children, a professional approach is the safer bet.
4. What to Expect from an Affordable Service
A reputable pest exterminator will begin with a detailed assessment, often on‑site, to confirm nest characteristics and potential hazards. They’ll then outline a treatment plan that typically includes:
- Safety briefing for occupants.
- Application of non‑toxic insecticides or bait stations.
- Physical removal of the nest post‑mortality period.
- Inspection to confirm eradication and seal entry points.
Most services offer a warranty period—usually 30–90 days—during which they’ll return if new wasps appear. Transparent communication, clear pricing, and adherence to local environmental regulations are hallmarks of affordable yet effective pest solutions.
Typical Service Timeline (in Days)
- Day 1: Initial assessment and safety briefing.
- Days 2–3: Chemical or bait application.
- Day 5: Physical removal after wasps are deceased.
- Day 7: Final inspection and sealing of entry points.
By following these steps, you can mitigate the risk of re‑infestation while keeping costs predictable.
5. Budgeting and Integrating Bee Control & Pigeon Removal
Pricing for wasp nest removal varies based on nest size, location, and required equipment. In 2026, typical rates range from $200 to $800 for single nests; larger or hard‑to‑reach nests can cost up to $1,500. Additional fees may apply for hazardous material handling or structural repairs.
When budgeting, factor in:
- Initial assessment fee (often waived).
- Service charge per nest removal.
- Potential structural repair costs.
- Follow‑up inspections during warranty.
If you’re dealing with multiple pest issues—such as bees or pigeons—many exterminators offer bundled services. Bee control often requires a different approach (e.g., hive relocation), while pigeon removal focuses on trapping and habitat modification. Combining these into one contract can reduce overhead and improve overall efficacy.
Cost‑Saving Tips
- Schedule inspections during off‑peak seasons when rates are lower.
- Ask for a detailed quote with itemized costs.
- Check for local rebates or insurance coverage for pest damage.
- Consider preventive measures (e.g., screen repair, bird netting) to avoid future charges.
A well‑planned budget protects you from surprise expenses and ensures that both wasp nests and related pests are addressed efficiently.
What’s the most effective way to prevent wasp nesting around your home after removal?Preventive Measures After Removal
Once a nest is removed, take proactive steps to discourage new colonies from establishing nearby. First, seal any cracks or openings in siding, eaves, and roof vents that could serve as entry points. Installing fine mesh screens on windows and doors helps keep wasps out while allowing airflow.
Second, trim tree branches and shrubs so they do not provide easy access to the roof or upper walls. Regular pruning also reduces potential hiding spots for other insects that attract wasps.
Third, maintain cleanliness in outdoor dining areas. Remove leftover food scraps promptly and use covered trash bins to eliminate attractive food sources. Wasps are less likely to return if there is no readily available meal.
Finally, consider a periodic inspection schedule—ideally early spring before the nesting season peaks. Spotting a new nest at its infancy stage allows for quick, low‑cost removal before it grows into a larger problem.
Conclusion
Removing a wasp nest is a task that blends careful assessment, appropriate expertise, and mindful budgeting. By recognizing early warning signs, conducting thorough inspections, weighing DIY against professional options, and planning for preventive maintenance, you can keep your home safe and pest‑free without breaking the bank.