
How Do I Choose the Right Pest Control Services Before, During, and After a Construction Project?
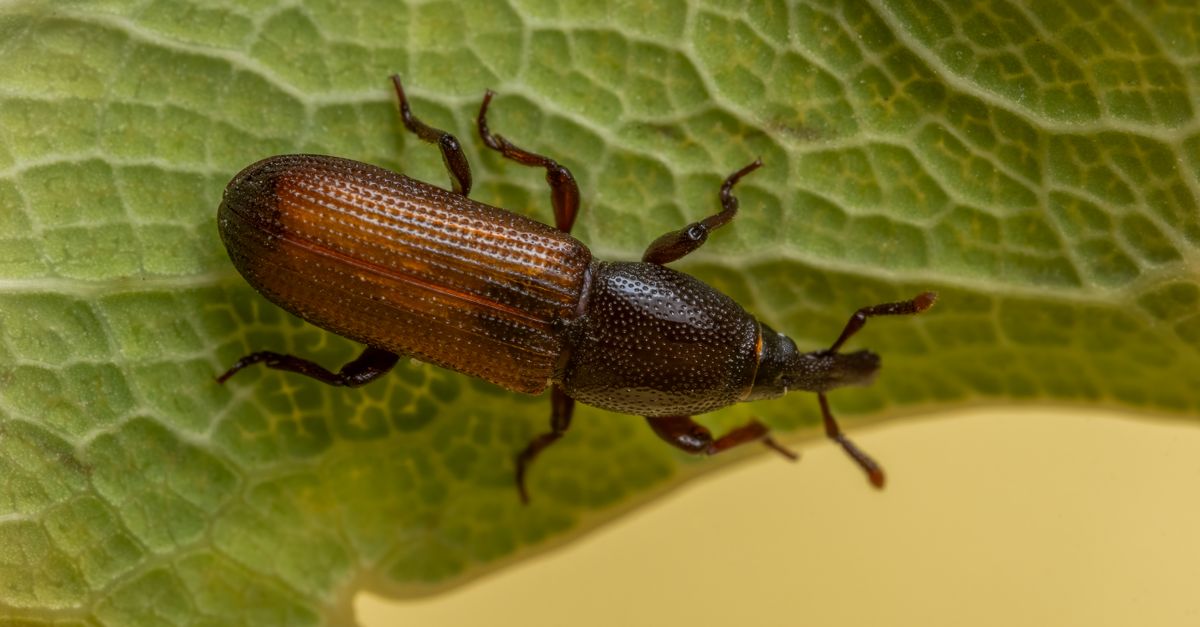
I’ve spent over a decade in the trenches of building and launching ventures. One constant across all my projects—whether it’s a startup office or a home remodel—is that pests can derail timelines, inflate budgets, and compromise safety. This article lays out a practical framework for selecting pre‑construction pest treatment, local removal services, outdoor control tactics, and specific solutions like wasp nest removal.
1. Understanding the Pest Landscape Before Construction
The first step is to map the risk profile of your site. Every lot has its own micro‑climate: proximity to wetlands, surrounding vegetation, existing structures, and local wildlife corridors all influence pest pressure. By conducting a baseline inspection you’ll know whether termites, ants, rodents, or wasps are likely culprits.
In my experience, skipping this early assessment often means paying for unnecessary treatments later on, which can double the cost of a simple crawl‑space seal.
Key factors to assess:
- Site elevation and drainage patterns – low-lying areas with poor drainage attract termites and ants.
- Nearby vegetation or standing water – dense shrubs, fallen logs, and ponds provide ideal breeding grounds for insects and rodents.
- Existing structures that may harbor pests – older buildings adjacent to the site can act as pest reservoirs.
- Local wildlife activity logs – data from local pest control agencies or city ordinances can reveal seasonal peaks.
- Previous pest complaints in the neighborhood – a history of infestations signals persistent environmental conditions.
During the inspection, bring a checklist that covers structural vulnerabilities (cracks, gaps, and exposed wood) and potential attractants (food sources, water spills). Document findings with photos or video so you can compare pre‑ and post‑treatment states. This visual record also helps justify budget allocations to stakeholders.
2. The Role of Pre‑Construction Pest Treatment
Pre‑construction treatment is a proactive barrier applied before any building materials are installed. It targets wood‑boring insects, termites, and early signs of infestation that could compromise framing or drywall.
This stage often involves soil‑based insecticides, bait stations, and physical barriers like steel mesh for termite prevention. The goal is to create a pest‑free environment so that the new structure remains intact during its entire lifespan.
Common pre‑construction methods:
- Soil treatment with termiticides – applied at the perimeter or beneath foundations, ensuring coverage of potential entry points.
- Bait stations in crawl spaces – placed strategically to attract and eliminate subterranean termites before they can infiltrate framing.
- Physical termite barriers (steel or concrete) – installed under slabs or as part of foundation walls for long‑term resistance.
- Integrated pest management (IPM) plans – combining chemical, physical, and biological tactics tailored to site conditions.
- Regular monitoring post‑treatment – scheduled inspections at 30, 60, and 90 days to verify barrier integrity.
When selecting a pre‑construction protocol, ask the contractor for a treatment timeline that aligns with your build schedule. For example, a full‑site soil application should be completed two weeks before the first framing crew arrives, giving the product time to set and preventing early termite colonization.
3. Choosing Local Pest Removal Services for Your Project
Local providers bring knowledge of regional pest behavior and regulatory requirements. They can tailor treatments to the specific climate, building codes, and homeowner expectations.
The key takeaway: a local service with proven IPM experience reduces both cost and environmental impact compared to generic national chains.What to look for in a local partner:
- Licensed and bonded for your state – ensures compliance with state regulations and protects you from liability.
- Experience with similar project types – commercial warehouses, multi‑family units, or single‑home remodels each present unique challenges.
- Transparent pricing structure – itemized quotes that break down labor, materials, and monitoring fees.
- Availability of emergency service during construction peaks – pest outbreaks can happen when workers are on site.
- Commitment to environmentally responsible practices – use of low‑toxic or non‑chemical alternatives where possible.
A reliable local partner will also provide a detailed project plan that outlines inspection intervals, treatment schedules, and documentation protocols. Request references from previous construction clients; their feedback can reveal how well the pest control team integrates with site logistics and safety plans.
4. Outdoor Pest Control Strategies During and After Build
Outdoor control is often overlooked until a pest problem surfaces. Yet, the construction site itself becomes an attractive habitat for rodents, insects, and wasps. By implementing containment measures early, you prevent infestations that could spread into finished spaces.
In my experience, installing temporary fencing around the perimeter and setting up bait stations near utility lines can cut down rodent activity by 70% before the building is even sealed.
Effective outdoor tactics:
- Perimeter fencing with fine mesh – creates a physical barrier that prevents large insects from accessing the site while still allowing air flow.
- Bait station placement in high‑traffic areas – near dumpsters, loading docks, and storage sheds to intercept rodents before they reach interior spaces.
- Regular debris removal to eliminate nesting sites – dispose of sawdust, wood shavings, and cardboard promptly; these materials are prime building material for nests.
- Use of light traps for flying insects – strategically positioned around the site’s corners can attract moths, beetles, and other nuisance pests.
- Collaboration with local pest control during site cleanup – schedule a final sweep after construction to certify that no residual infestations remain.
Implementing a “clean‑up protocol” that includes weekly inspections by the pest team ensures any new nesting activity is caught early. Document each inspection with photos and notes, and share findings with project managers to keep everyone informed of potential risks.
5. Residential vs Commercial Pest Control Needs
Residential projects focus on occupant comfort and health, while commercial properties emphasize compliance with food safety regulations and larger scale operations. The treatment intensity and monitoring frequency differ accordingly.
A residential home may require a single pre‑construction termiticidal application, whereas a commercial kitchen must undergo continuous inspections to meet health codes.
Differences in approach:
- Residential: focus on cosmetic damage prevention – ensuring that the structure remains visually appealing for future homeowners.
- Commercial: strict adherence to OSHA and local health departments – regular audits and detailed logs are mandatory.
- Frequency of monitoring (daily vs weekly) – commercial sites may need daily checks during peak operation hours.
- Use of non‑toxic, food‑safe treatments in kitchens – avoid any chemicals that could contaminate food preparation areas.
- Insurance requirements for commercial sites – many insurers require documented pest control plans to reduce claim risk.
When planning a pest program for a commercial site, coordinate with the building’s facilities manager. They can provide insights into foot traffic patterns, storage areas, and potential food sources that may attract pests. This data helps tailor bait placement and treatment zones more effectively.
6. Wasp Nest Removal: When, How, and Safety Tips
Wasp nests are a common problem during spring construction when workers set up temporary structures. A nest can quickly grow to 1,000+ wasps, posing a serious risk.
In my experience, the best time to remove a nest is early in the morning or late at night when wasp activity is low and workers are on break.
Steps for safe removal:
- Identify the species (paper vs yellow jacket) – determines the type of insecticide and protective gear needed.
- Use protective gear: full-body suit, gloves, mask – reduces exposure to stings and airborne chemicals.
- Apply a targeted insecticide from a distance – ensures that the spray penetrates the nest without disturbing wasps too early.
- Remove the nest in sections to avoid mass stings – dismantle gradually, starting from the base.
- Dispose of remains in sealed containers – prevent any remaining insects from escaping back into the site.
Always coordinate with local pest control professionals for high‑risk removals. They can assess whether chemical treatment or a more aggressive approach (e.g., fumigation) is necessary based on nest size and location.
7. Cost Considerations and ROI for Pest Management
Pest control is an upfront investment that pays dividends by preventing structural damage, insurance claim spikes, and health risks.
Typical cost ranges: pre‑construction termiticides can be $1–$3 per square foot; ongoing monitoring averages $200–$500 monthly for larger properties. A well‑executed plan can reduce long‑term maintenance costs by 30% or more.
ROI indicators:
- Reduced repair bills from pest damage – eliminates the need to replace compromised framing, drywall, and HVAC components.
- Lower insurance premiums – many insurers offer discounts for documented pest management plans.
- Higher resale value of the property – a pest‑free history can be a selling point in competitive markets.
- Improved worker safety and productivity – fewer incidents mean less downtime and lower workers’ compensation costs.
- Compliance with regulatory standards – avoids costly fines or project delays caused by non‑compliance.
To quantify ROI, create a simple spreadsheet that tracks initial treatment costs, monthly monitoring fees, and any savings from avoided repairs. Share these figures with stakeholders to demonstrate the financial prudence of investing in pest control early on.
8. Common Mistakes to Avoid in Pest Prevention
Avoiding pitfalls saves time, money, and headaches.
- Delaying treatment until pests are visible – by then, damage may already be extensive.
- Selecting a provider based solely on price – the cheapest option often lacks proper licensing or fails to meet regulatory standards.
- Ignoring local regulations for chemical usage – non‑compliance can result in fines and project shutdowns.
- Overlooking the importance of post‑construction monitoring – early detection prevents larger infestations.
- Underestimating the impact of construction debris as nesting material – proper disposal is key to limiting attraction.


