Post‑Construction Pest Control: A Practical Guide for New Homeowners in 2026
I recently finished renovating my Las Vegas home and, like many of you, I was excited to move in—only to discover that the excitement came with a swarm of unwanted guests. That’s when I realized how crucial post‑construction pest control is. This article breaks down what you need to know about pest control services, outdoor protection, bee management, and cost considerations so your new house stays pest‑free without breaking the bank.
Why Post‑Construction Pest Control Matters
Construction leaves behind debris, cracks, and moisture that attract a variety of pests. New homeowners often underestimate this risk, assuming the finish will keep bugs at bay. In reality, the first months after construction are the most vulnerable period for infestations.
Common Pests in Newly Built Homes
- Termites – attracted to wood exposed during framing. They can chew through studs, joists, and insulation, creating hidden voids that compromise structural integrity.
- Rodents – find shelter in crawl spaces and wall voids. Their gnawing can damage wiring, insulation, and plumbing, leading to costly repairs.
- Ants (fire, carpenter) – use new openings as entry points. Carpenter ants, for example, build nests inside walls, creating a silent infestation that is hard to detect until significant damage occurs.
- Spiders – thrive in corners where dust settles. While most are harmless, their webs can clog vents and create an unclean environment.
- Bats and rodents – take advantage of unfinished attics. Bat droppings pose health risks and can damage roofing materials if left untreated.
A quick inspection after the project is finished can reveal early signs, saving you from a costly infestation later.
Choosing the Right Pest Control Service
Not all pest control companies are equal. The right choice hinges on certifications, treatment methods, and experience with post‑construction scenarios.
Key Questions to Ask Before Hiring
- Are you licensed and insured for residential work in Nevada?
- What specific post‑construction protocols do you follow?
- Do you use non‑toxic or low‑toxicity treatments suitable for families with children or pets?
- Can you provide references from recent renovation projects?
- What is your guarantee period after treatment?
In my experience, a company that offers a 12‑month warranty and uses integrated pest management (IPM) strategies delivers the best long‑term results. IPM focuses on monitoring, prevention, and targeted treatments, reducing chemical exposure while maintaining efficacy.
Timing and Frequency of Treatments
The timing of treatments is as important as the treatment itself. Most experts recommend a phased approach:
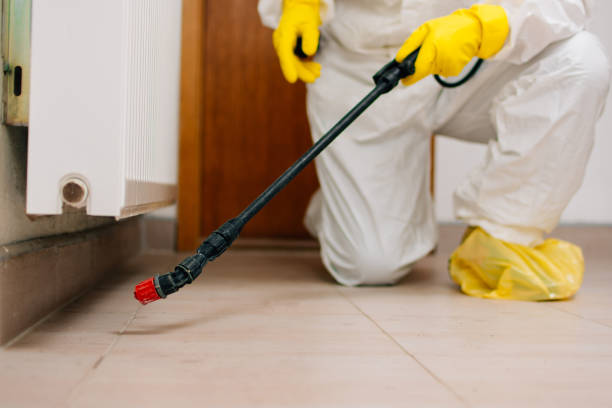
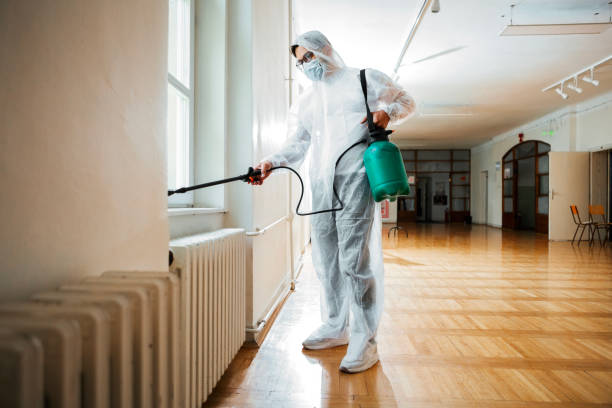
- Phase 1 – Pre‑Occupancy (Weeks 0–4): A thorough inspection followed by an initial chemical or non‑chemical barrier.
- Phase 2 – Post‑Move‑In (Months 1–3): Follow‑up treatments focused on any emerging hotspots.
- Phase 3 – Maintenance (Every 6 months): Routine checks to keep the perimeter sealed.
Skipping Phase 2 is a common mistake that leads to recurring problems. During the first three months, many pests establish colonies before you even notice them; early follow‑up can prevent this.
Outdoor Pest Control: Extending Protection Beyond the Walls
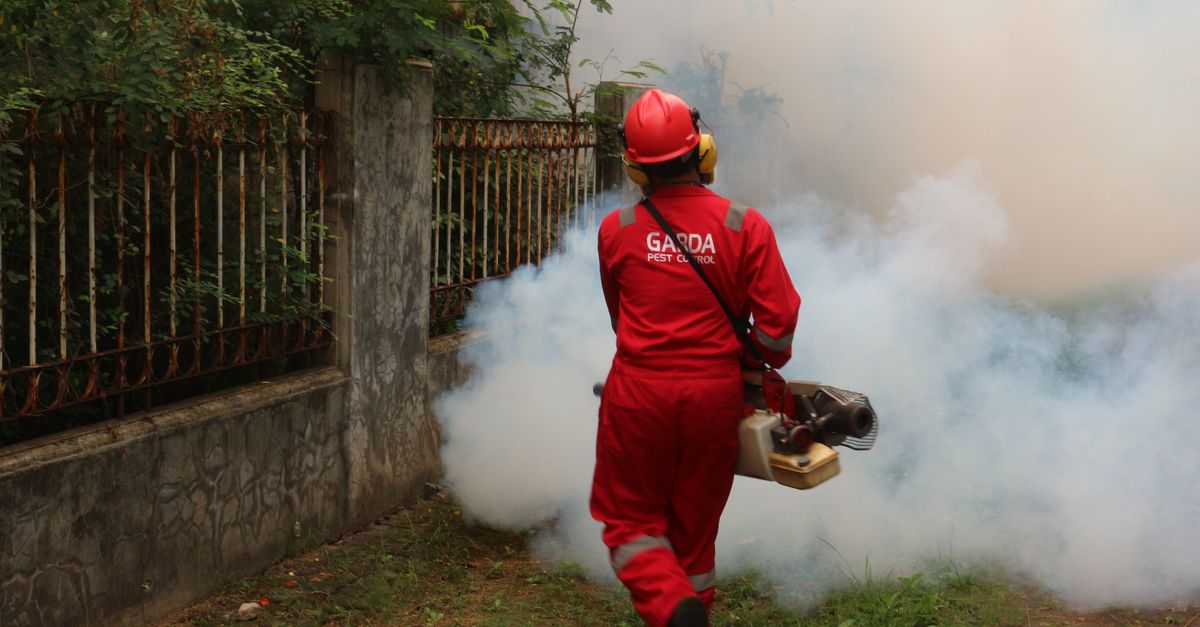
Pests don’t respect property lines. Effective outdoor pest control involves landscape management, sealing gaps, and creating inhospitable conditions for invaders.
Outdoor Measures That Work
- Seal cracks in foundations and siding with high‑quality caulk to eliminate entry points.
- Trim vegetation at least 12 inches from the house to reduce nesting sites and keep insects from moving directly onto the roof.
- Install perimeter fencing or screens on windows and doors, especially in windy areas where debris can carry insects inside.
- Remove standing water to deter mosquitoes and other insects that thrive in stagnant pools.
- Use mulch that is not too dense—approximately 2–3 inches—to prevent rodent burrowing while still providing insulation.
A well‑maintained yard can cut pest entry points by up to 40%. Seasonal inspections of the landscape help identify new risks, such as overgrown shrubs during late summer or snow melt creating moist conditions in winter.
Bee Control Services in 2026: Balancing Safety and Ecology
Bears the title “bee control” but is more about protecting your home while preserving pollinators. Bees are essential, yet swarms near living spaces can be hazardous.
Best Practices for Bee Management
- Inspect hives before they’re built or repurposed to ensure no existing colonies will become a problem.
- Use non‑lethal deterrents like electric bee fences during peak seasons, which keep bees away without harming them.
- Maintain a distance of at least 10 feet from active nests; many species are territorial within this radius.
- Collaborate with local beekeepers for relocation assistance. A professional can safely move a hive to a more suitable location.
- Educate family members on safe interaction protocols, such as avoiding sudden movements and wearing protective clothing if necessary.
In 2026, many Nevada municipalities require an inspection certificate before new structures can be occupied if bees are present. A proactive bee control service will handle this paperwork for you, saving you time and potential fines.
Cost Considerations and ROI
The upfront cost of post‑construction pest control can range from $200 to $800 per treatment, depending on the size and complexity of the home. However, investing early prevents costly damage later.
- Initial Treatment: $300–$500 for a standard 1500‑sq‑ft home.
- Follow‑Up Treatments: $150–$250 each.
- Annual Maintenance: $200–$400.
Long‑term savings come from avoiding structural damage, mold growth, and health risks associated with infestations. A well‑managed pest program can reduce insurance premiums by 5%–10% annually. Additionally, fewer repairs mean less disruption to your daily life, allowing you to enjoy your new space sooner.
Common Mistakes to Avoid
- Delaying the first treatment until after moving in—this allows pests to establish colonies before any barrier is applied.
- Choosing a company that only offers chemical sprays without a preventive plan, which can lead to repeated applications and higher long‑term costs.
- Ignoring outdoor entry points like gaps around windows or vents; these are often the most accessible routes for insects.
- Overlooking bee regulation compliance during construction—missing this step can result in fines and forced remediation.
- Assuming a single treatment is sufficient for long‑term protection; pest populations can rebound if the underlying conditions remain favorable.
Practical Checklist for Homeowners
Use this checklist to ensure you cover every aspect of pest control from construction through occupancy.
- Schedule post‑construction inspection within 7 days of completion.
- Confirm the contractor uses IPM and has a 12‑month warranty.
- Document all treatments with receipts and dates for insurance and future reference.
- Seal all exterior cracks before moving in, using sealants rated for outdoor use.
- Maintain landscaping as per outdoor pest control guidelines—trim, mulch, and remove water regularly.
- Verify bee inspection certificates if applicable; keep a copy of the official documentation.
- Set up a biannual maintenance schedule with your chosen service, noting any changes in building materials or landscape that could affect pest access.